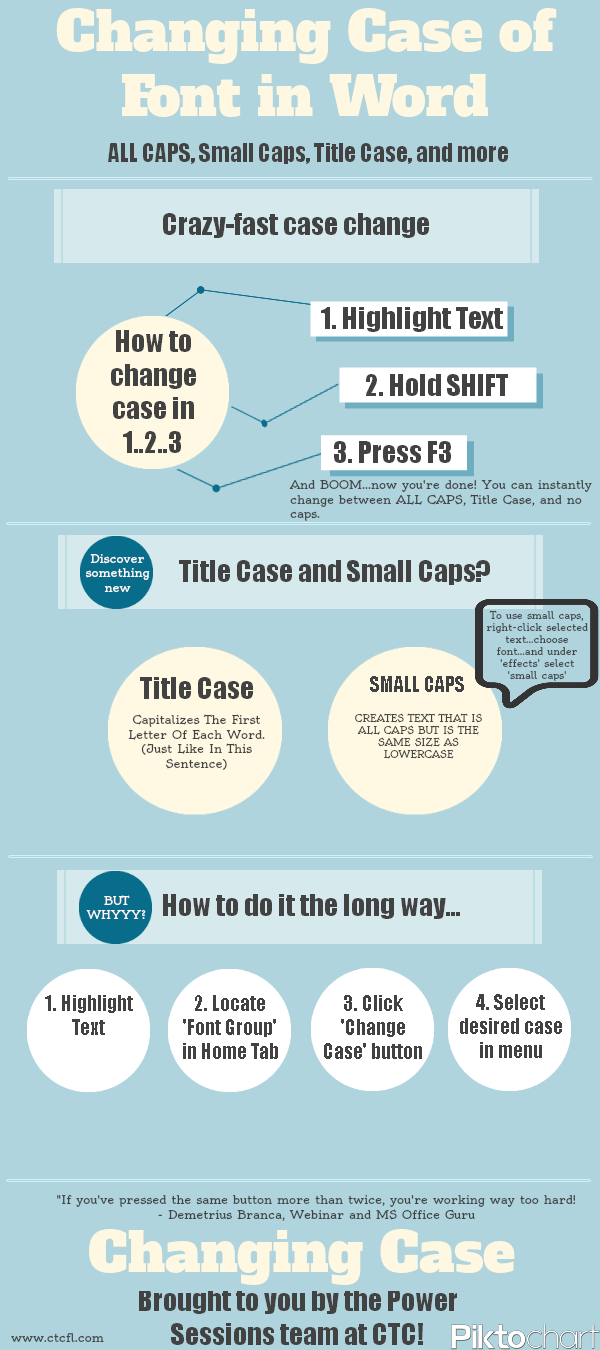
Using ALL CAPS, Small Caps, Title Case and more.
There’s
a lot of ways to change the font case of text used in Microsoft word.
The quickest and easiest
way to change the font case of text is to use the shortcut built into Microsoft Word:
1) Highlight the text that you want to edit
2) Press the shift + F3
Each time you press this command your highlighted text should toggle between Title Case (the first letter of each word will be highlighted), ALL CAPS and no caps.
Each time you press this command your highlighted text should toggle between Title Case (the first letter of each word will be highlighted), ALL CAPS and no caps.
Shortcut for Mac Users:
If you are using a Mac, you can use this shortcut by pressing:
Shift + fn + F3
Manually Changing the Case
If you are using a Mac, you can use this shortcut by pressing:
Shift + fn + F3
Manually Changing the Case
Another way to change the case of text in Microsoft Word is
manually going into the formatting options make the change.
To use this method:
1) Highlight the text that you want to edit.
2) Open the Home Tab, then look in the Font
group for the ‘Change Case’ button.
3) A
dropdown menu will appear, Select
your desired case.
Using Small Caps
Using Small Caps
You can also choose to use small caps, this feature
will create text that is the same size as normal lowercase text, but all
letters will be capitalized. To use this feature just:
1) Highlight the text that you want to edit.
2) Right-click on the text and select Font.
You can also bring up this
window by Pressing Ctrl + D
3) In the checkboxes under “Effects” select “Small caps”
4) Press “OK”


No comments:
Post a Comment